How to Make a (Low-Budget!) Cat Scratching Corner
Published November 11, 2021

As the holiday season draws near, you may have started shopping for the perfect item for everyone on your list. Have you also considered a special item for your feline best friend?
It’s no surprise that cats love a good cat scratching corner. Unfortunately, they are often more than willing to use your sofa as a stand-in for the real thing!
But with a little time and elbow grease, you can DIY an affordable and versatile scratcher that serves as both couch corner scratching post and a cat wall scratcher corner rolled into one!
Both your couch and your kitty will thank you, so let’s get crafty!
List of Materials
The finished product will be a wood and carpet cat scratching corner that can slide onto the corner of a couch or against a corner in your home where two walls meet at 90 degrees.
Here’s what you’ll need:
- One 8-10 ft. piece of 1×4 in. lumber
- Measuring tape and pencil
- Something to cut the wood with, like a hand saw, jig saw, circle saw, or miter saw
- Sandpaper and sanding block
- Carpet scraps (berber is a great choice) or sisal rope
- Wood glue
- Power screwdriver
- Wood screws (#8 x ¾ in.)
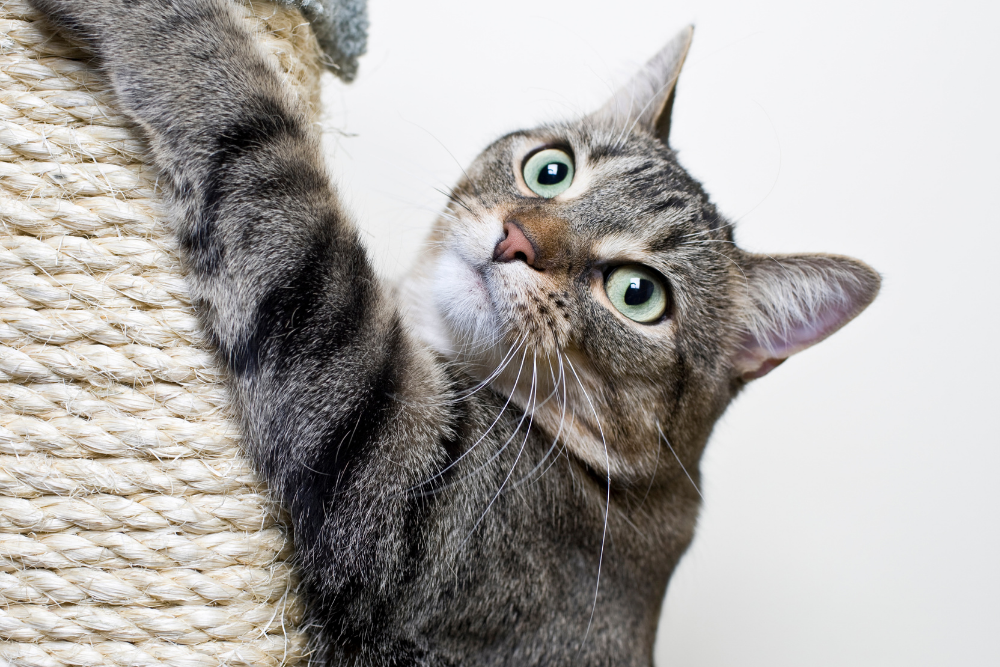
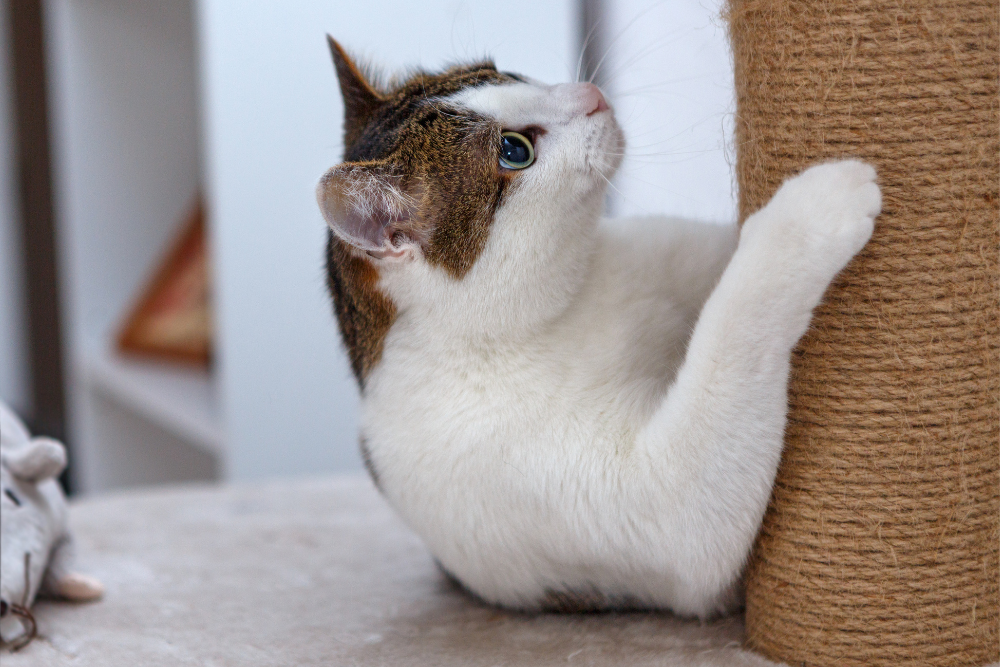
As you gather your materials, you should decide whether you want your cat scratching corner to be carpeted or covered in sisal rope. This will be the outside portion of your couch corner scratching post, or the area facing out if you use the post on a wall corner.
Example of a Cat Scratching Corner with Sisal Role
Step 1: Measure and Cut
Once you have all your materials, you can get started!
The measurements for this project are fairly specific to your couch or wall corner, so you will begin with your piece of 4 x 1 lumber.
- First, decide how high you want your scratching corner to go up the leg of your couch.
- Then, measure and mark it on your wood with your measuring tape and pencil. For example, if you want the post to cover three feet in height on your couch corner, you would measure and mark three feet on your wood.
- Measure and mark the same height again.
- Cut your marks! You can use any type of saw in the materials list that makes clean, safe cuts.
- You should now have two pieces of 4 x 1 lumber that are exactly the same height.
- If you plan to use the post as a couch corner scratching post exclusively, you can make a base. Cut a one foot square from your remaining lumber to sit at the bottom of your post sides. Note that the base will prevent it from sliding against a wall corner.
Step 2: Sand
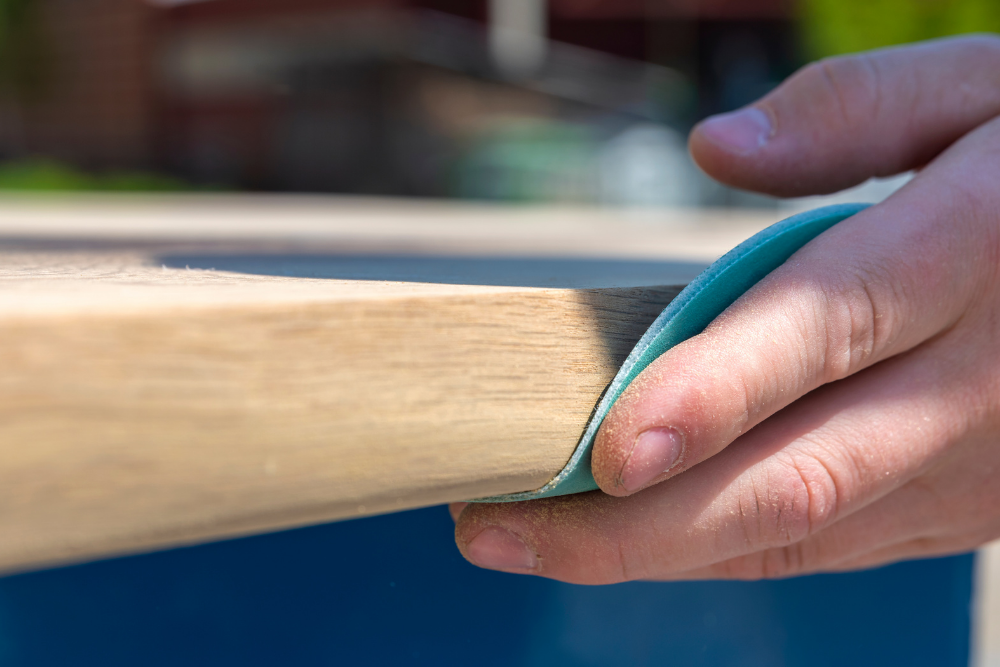
Next, sand your surfaces. This is easier to do before you attach everything together. You can use sandpaper, but a random orbit sander, if you have one, will take less time. Use what you’ve got!
Step 3: Assemble Cat Scratching Corner
Once smooth, you are going to take your two pieces of 4×1 and attach them to form a 90 degree angle. If you have right angle clamps, you can use them to hold the boards in place and keep them square. Or just enlist a household member with a steady hand!
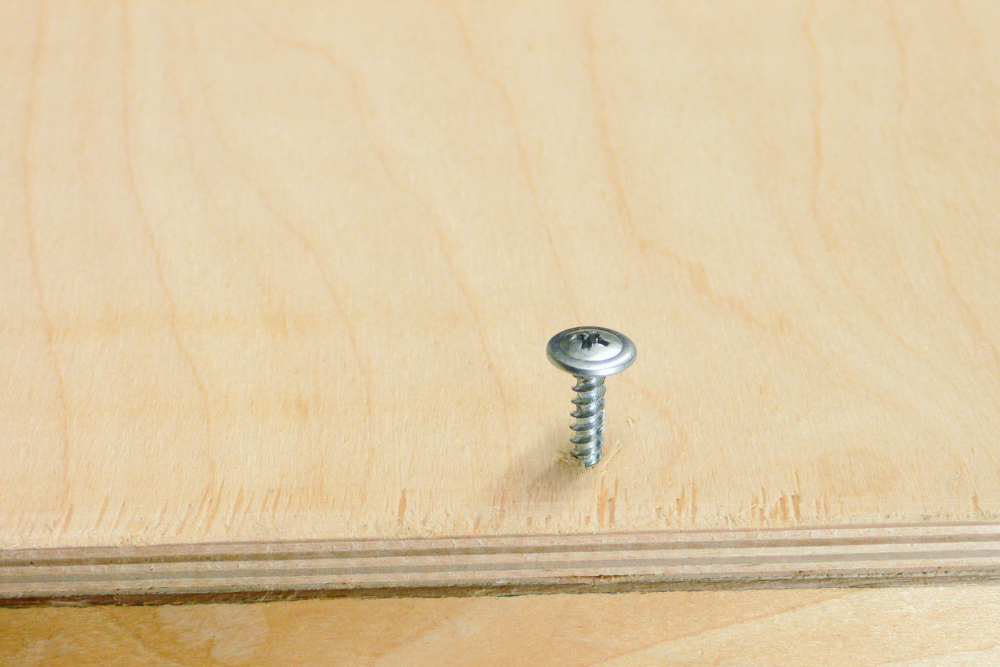
You want to screw your wood screws perpendicularly through the boards to secure them together. The number of wood screws you use will depend on the height of your cat scratching corner, but we recommend placing them around an inch apart. If you have any gaps left at the end, you can always fill them with a bit of wood putty.
Step 4: Attach Base (Optional)
If you have decided to make a couch corner scratching post with a base, you can now screw the base to the bottom of the post corner. Feel free to use your couch to test as you go! This base will slide under the corner of your sofa to hold the post in place.
Step 5: Affix Scratching Material
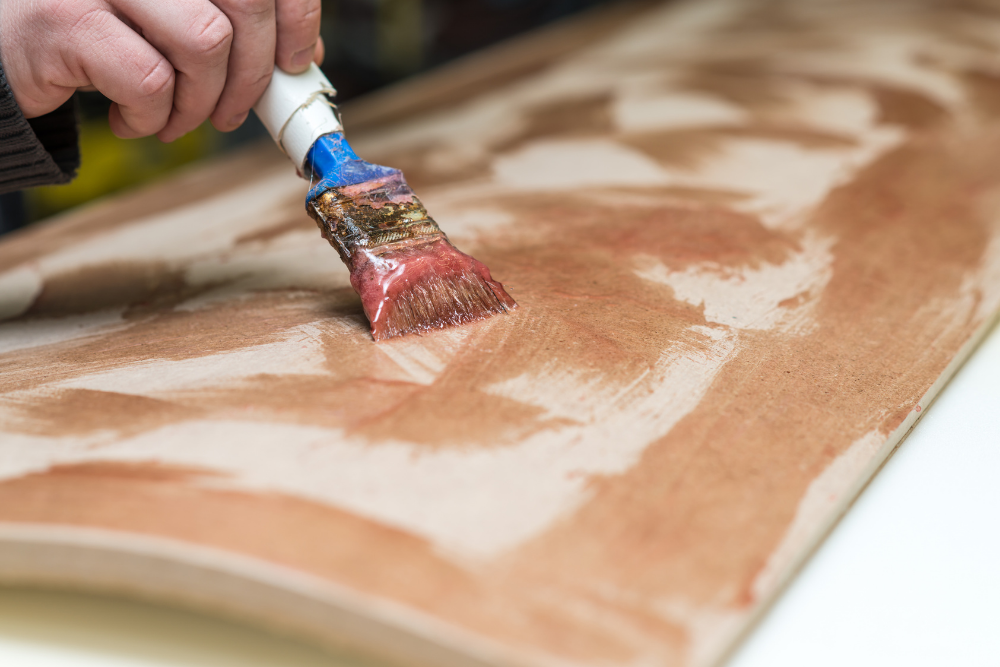
Now that you have your cat scratching corner assembled, it’s time to affix the material that your cat will love to claw! Regardless of whether you choose carpet or sisal rope, you will be measuring, cutting and placing your material on your post with a layer of wood glue.
Feel free to get creative with your application! Perhaps you want to use different samples of carpet to create a patchwork effect or swirl on your rope to make a unique pattern. Once glued on, you can use your screwdriver to place a few wood screws anywhere you need extra attachment: corners, bottom, and so on.
Step 6: Enjoy Your New Cat Scratching Corner!
Once your cat scratching corner is complete, it’s time to let your furry friend test it out! Slide it up against a wall corner or place it on one of your front couch corners.
If your cat doesn’t take to scratching right away, try sprinkling some catnip or using catnip spray on it. It will help entice your cat to explore and scratch their new DIY corner.
If you are not sure a full-blown DIY cat scratching corner is in your budget or are simply short on time, there are other ways to create a playscape for your furry friend in no time! Try using those leftover Amazon boxes piling up in your garage for a cat fort of epic proportions.
Essential Tip: Looking for more inspiration to treat your pet this holiday season? Join our newsletter for fun pet content, clinic updates, new locations, and more.