How to Keep Your Pet’s Ears Clean
Published August 20, 2022
Content Reviewed by an Essentials PetCare Veterinarian
Ear cleaning should be a regular part of your pet’s health maintenance as well as part of the treatment for an ear infection. Keeping the ears clean will not only keep your pet happy and comfortable but can also help prevent ear infections from occurring. Below, you’ll find simple steps to help you keep your pet’s ears in great shape!
Getting Started
Supplies needed:
- Gloves
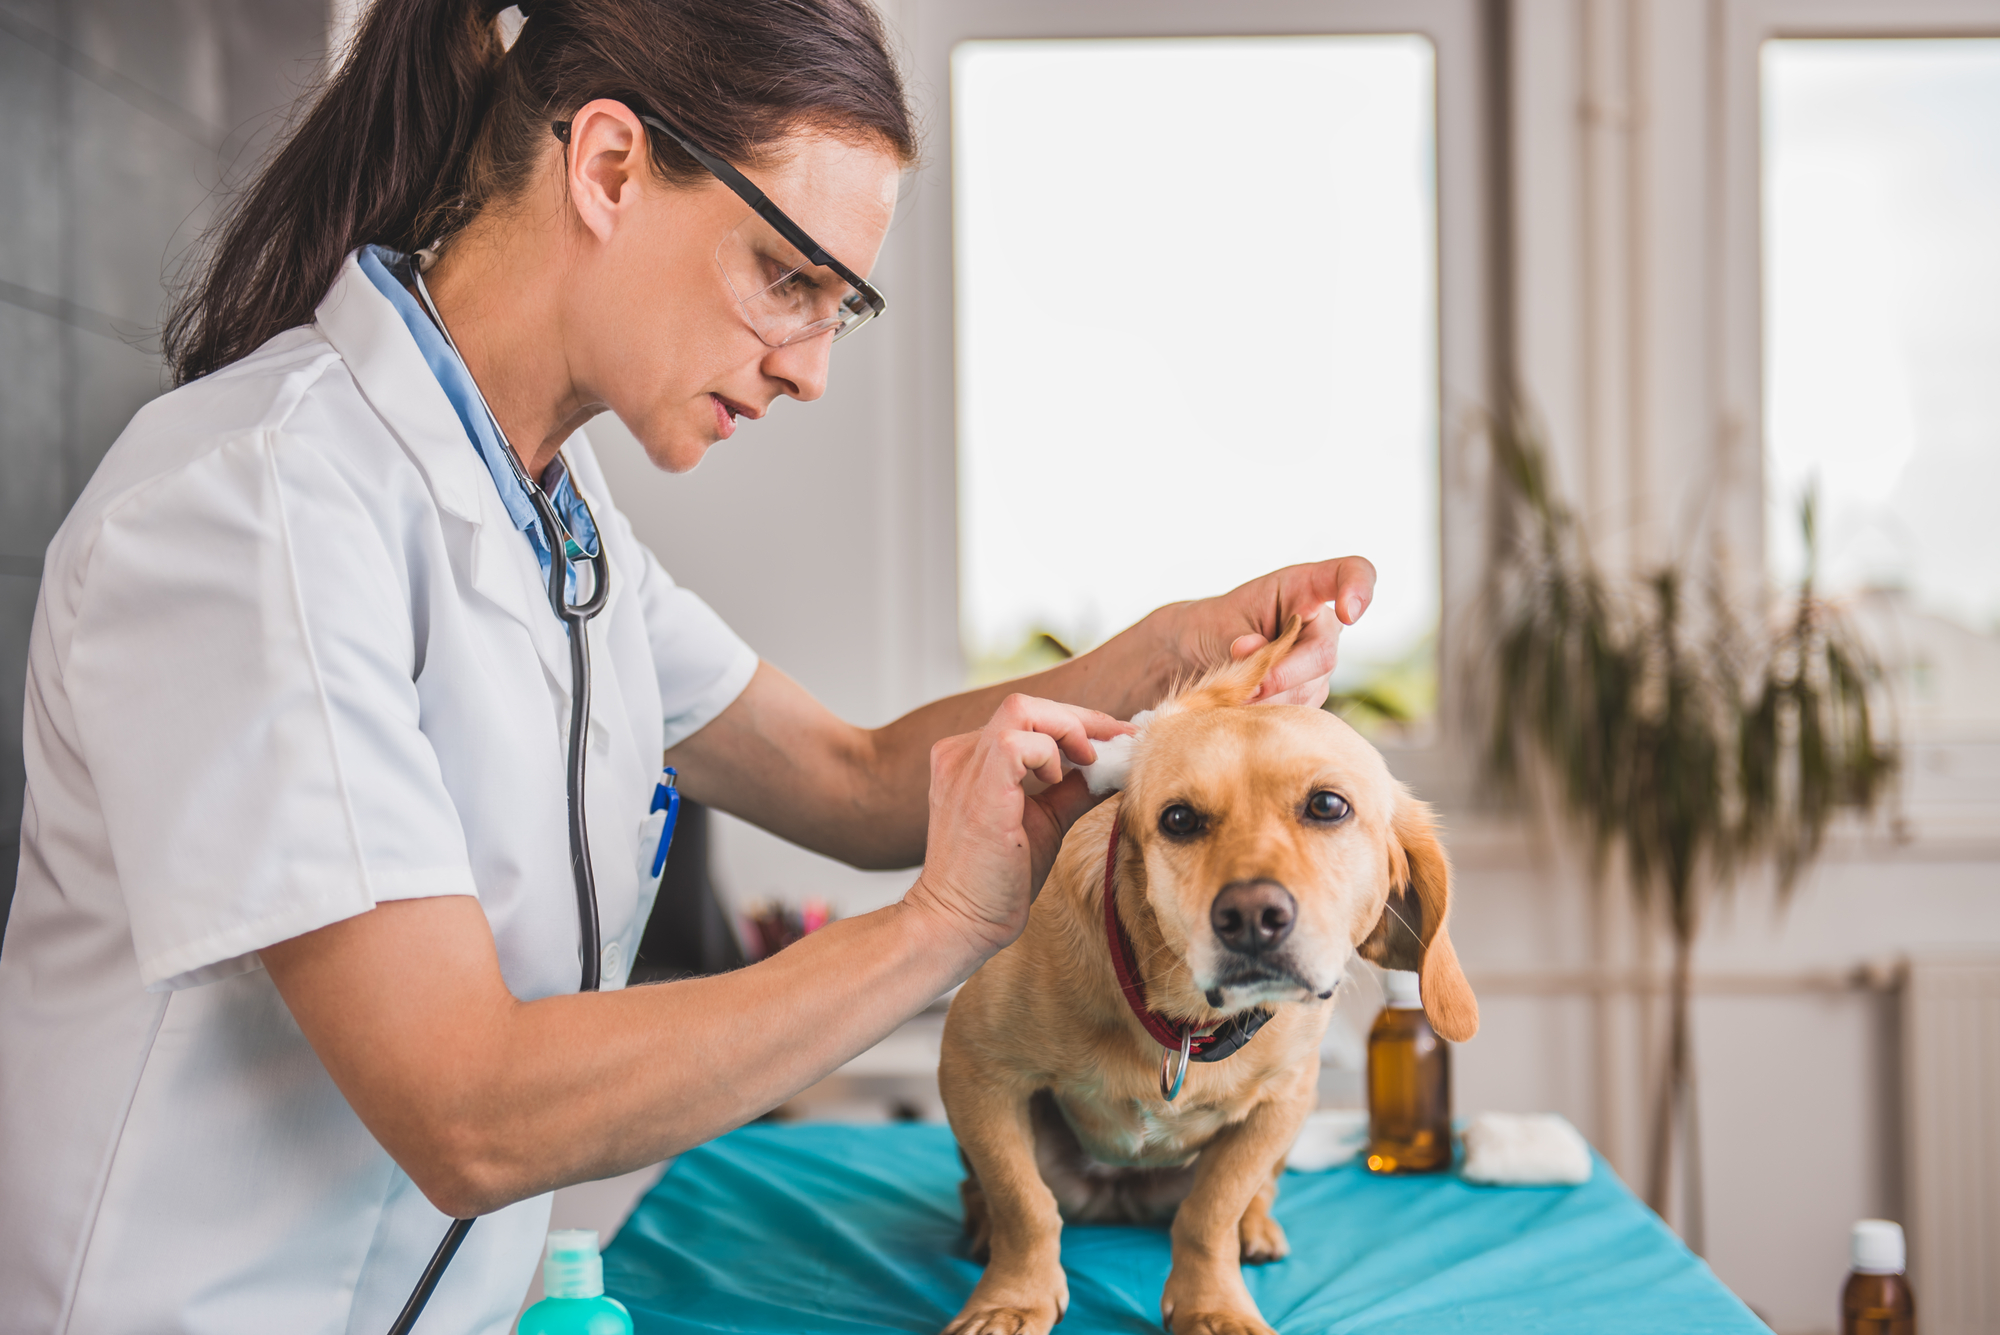
- Cotton balls or sponge gauze (no Q-tips or similar devices! See below)
- Ear-cleaning solution
- Personal eye protection
Procedure
- It is best to perform ear cleaning outside, if possible, as your pet will eventually shake their head and propel wax mixed with cleaner from the ears which can be quite messy. This is why it’s important to use personal eye protection to prevent any debris from inadvertently entering your eyes.
- In calm pets, ear cleaning can be done with just one person; but with young, excited animals, or pets that dislike (or are unfamiliar with) ear cleaning, it may be necessary to have one person distracting and/or holding the pet while another person instills the solution. The whole process should take about 5 minutes.
- A helpful preparatory step is to put the bottle of ear-cleaning solution under your own armpit for 10 or 15 minutes before the ear cleaning. This brings the solution to body temperature and makes it much more comfortable and pleasant for your pet.
- With one hand, gently flip the ear flap straight up. This is best done by cupping the ear flap (pinna) in your hand, with the haired part of the ear against the palm of your hand and your thumb on the hairless inner surface of the ear flap. You should be able to see the inside of the ear (ear canal) this way. Some breeds of dogs and cats have naturally erect ears, and in these pets, the hand can simply be cupped behind the ear.
- Holding the ear flap cupped in the palm of your hand means that the ear canal takes on the shape of a funnel. You can then place the lukewarm cleansing solution into the ear canal, allowing the solution to fill the canal to the brim. This means a gentle stream of the solution will need to go in for several seconds, not just a few drops. Do not allow the bottle tip to touch the ear canal, which would contaminate the bottle and its contents.
- Lower the ear flap and massage the ear canal for 1 minute. Do this by using your thumb and forefinger to gently compress and roll the tube-shaped ear canal. You can feel it through the skin and hair at the base of the ear, directed inward and slightly toward the dog or cat’s hind end.
- Now allow your pet to shake their head. This will loosen debris in the ear canal and propel it outward. Afterwards, use a cotton ball or sponge gauze to clean the ear flap and upper ear canal. Remember that you should never put anything into the ear canal to attempt to clean or dry it in any way. The cleaning solution is designed such that the remainder in the lower ear canal will evaporate. You’re all done!
Important Tips
- If your pet shows resentment to having this done, stop the procedure and call your veterinarian for further advice. The ear may be too painful to treat without additional medications or sedation, and it is imperative that you not hurt your pet or put yourself at risk of an injury, including scratches or bites.
- Never use Q-Tips or other cotton-tipped swabs to clean your pet’s ears. Too often, this results in pushing the debris back into the ear canal, which is the opposite of the intended effect.
- Keep in mind that some individuals are more prone to ear disease than others. This can be due to ear shape (floppy-eared dogs are especially susceptible), environment and activity (swimming allows water in the ears and favors infection), and likely genetic predisposition as well. Therefore, ear cleaning should be done when your individual dog or cat needs it, which is different from one individual to the next. Be sure to ask your veterinarian about the best interval between ear cleanings to avoid over- or underdoing it. Excessive ear cleaning must be avoided because it causes inflammation in the ear canal, which is counterproductive to keeping your pet’s ears as healthy as possible.
Here is a helpful video that shows pet ear cleaning step-by-step.
Essential Tip: Itching, headshaking, a foul odor, and “coffee-ground” residue in the ears are signs that your pet may have an ear infection or parasitic infestation. Our Ear Package includes a doctor’s exam of the ear, diagnostics, treatment recommendations, and portable prescriptions, if necessary for just $55, or $35 with vaccines.
*Prices subject to change. See current prices: https://essentialspetcare.com/services